您现在的位置是:首页 >技术杂谈 >unity 实现移动1网站首页技术杂谈
unity 实现移动1
文章目录
前言
unity的移动大致可以有以下方式:
通过Transform组件直接改变position。
通过Rigibody组件施加位移以及力。
通过CharacterController组件move、simplemove函数实现。
通过协程移动
使用NavMesh实现自动寻路
本文将介绍前三种简单的移动实现。
一、Transform
1.position
两种改变position的方式,一种是直接使用translate()函数,另一种是通过累加。本质上都一样,直接改变物体的全局坐标。
transform.translate(Vector3 dir);
 public Vector3 dir;//通过脚本组件中开放的dir属性控制每次帧更新位移的距离
 void Update()
 {
     //transform.Translate(dir);
     transform.position += dir*Time.deltaTime;
      //Time.deltaTime是两帧之间的时间(秒)
 }
2.Vector.Lerp() 匀速插值函数
Lerp(start,target,t)
Lerp(A,B,t)的公式:A+(B-A) * t 当t=1的时候实际上该式子就到达了B,等于0时相当于还在A点。
A是当前的坐标
B是目标位置的坐标
t是插值系数参数范围是  [0,1]   可以将他理解成(B-A)距离的比例
匀速运动:
首先要注意的是,如果要实现它的匀速运动的话,
我们知道
v
=
s
t
v=frac{s}{t}
v=ts
假设物体从A总共用了t秒匀速运动到B。在unity中我可以通过Time.deltaTime的累加来知道当前的时间到起始的时间t’。
v = s ′ s t ′ t v=frac{frac{s'}{s}}{frac{t'}{t}} v=tt′ss′
v速度不变,相当于
1
3
frac{1}{3}
31S除以
1
3
frac{1}{3}
31t只要时间和距离前面的系数比例相同速度就不会变。
v
=
s
t
=
s
2
t
2
=
s
3
t
3
=
s
n
t
n
v=frac{s}{t}=frac{frac{s}{2}}{frac{t}{2}}=frac{frac{s}{3}}{frac{t}{3}}=frac{frac{s}{n}}{frac{t}{n}}
v=ts=2t2s=3t3s=ntns
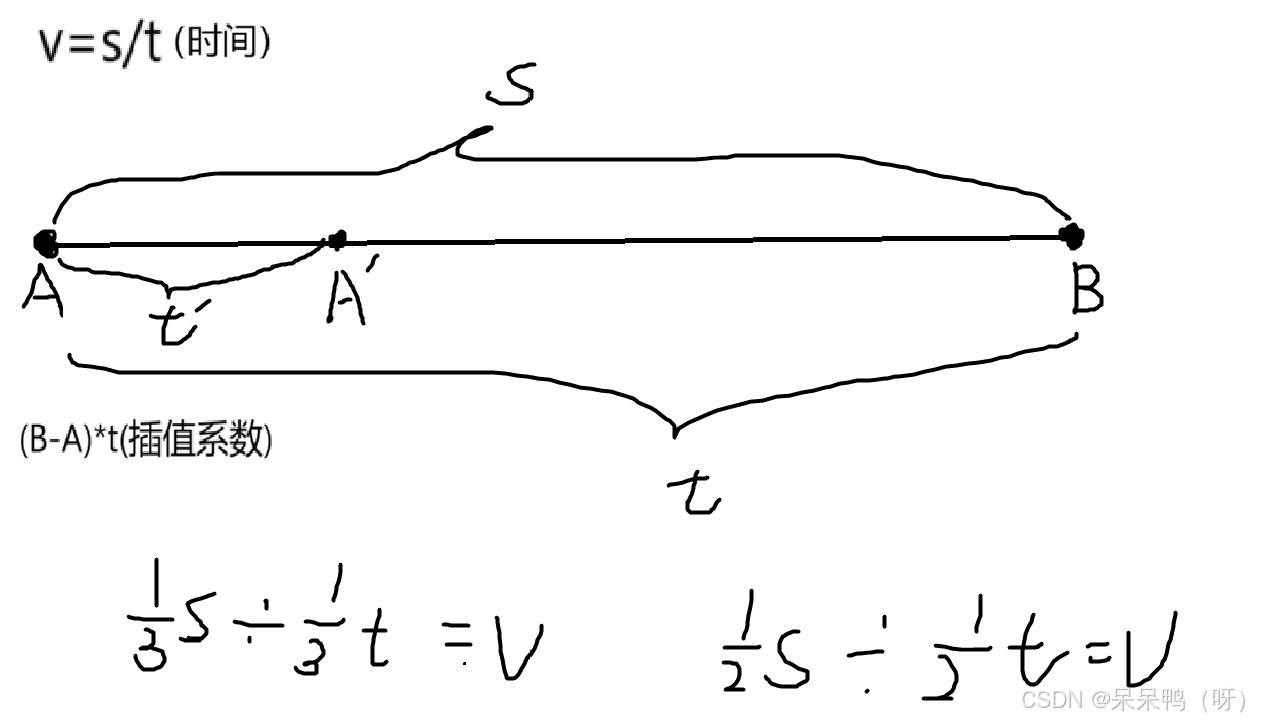
匀速运动(将t值与当前经过的时间与总时间比值相关联)
示例代码:
 private float totalTime = 2.0f;     //t,A到B总时间2s
 private float time = 0f;       //t',从A移动开始到此时消耗的时间
 private float t;        //插值系数
 private Vector3 start;   //A点位置
 public Vector3 target;      //B点位置
 public GameObject targetObject;
 void Start()	//只在第一帧调用
 {
     start = transform.position;         //固定A的起始位置
     target=targetObject.transform.position;   //固定B点位置
 }
 void Update()
 {      //update每帧更新(调用)
     time += Time.deltaTime;
     //计算当前到开始的时间,每调用一次update就加一次两帧间的时间
     t = Mathf.Clamp01(time / totalTime);
     //每次调用update重新计算当前的比例系数,clamp钳制到【0,1】区间,相当于映射到【0,1】
     transform.position = Vector3.Lerp(start, target, t);
     //Lerp的A,B值需要是固定的,t系数值要动态跟随当前时间比例变化,即可实现匀速运动
 }
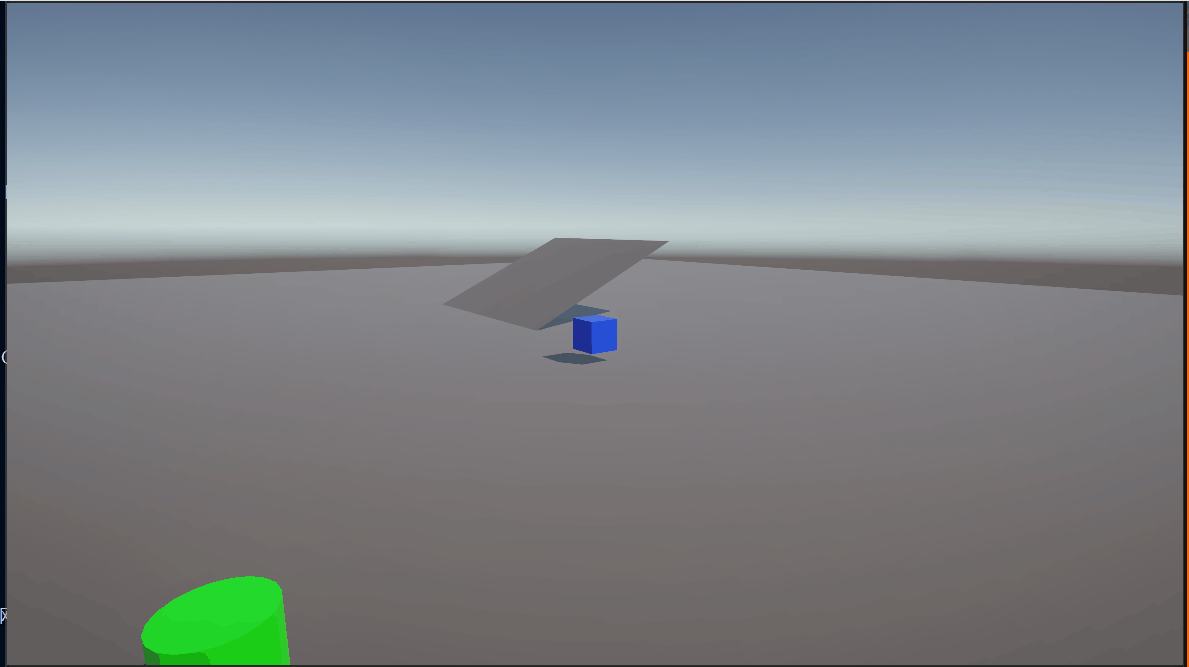
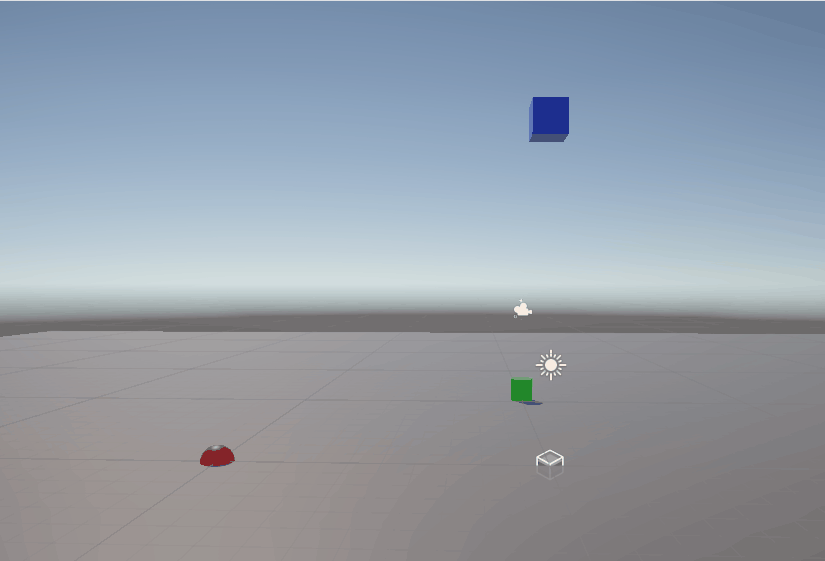
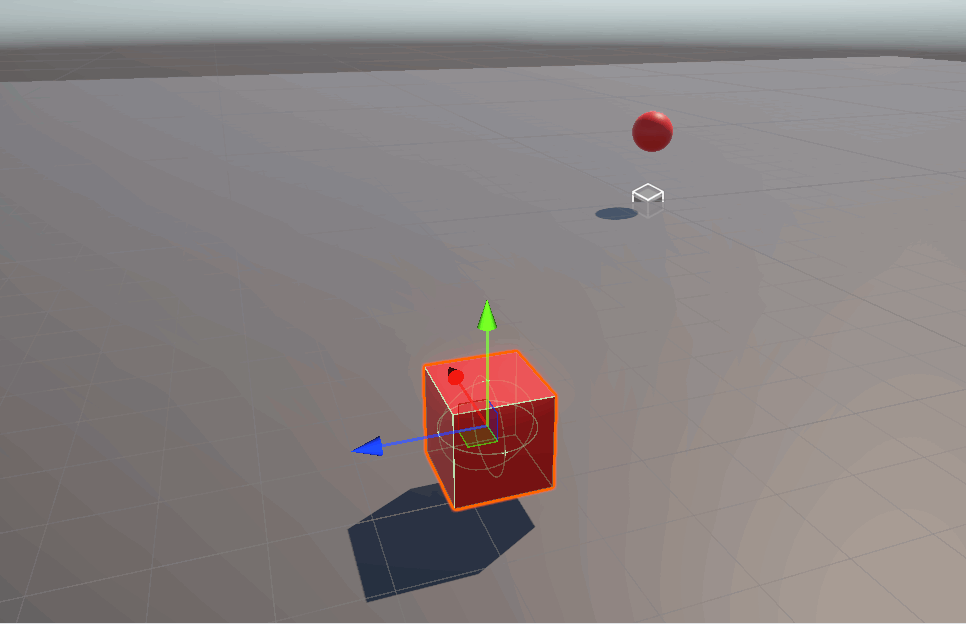
效果:
因为浮点数精度的问题实际上我们的物体并不会到达物体所在位置。(计算机层面上无法到达)
原因:在于t的值,在我们的代码里t值是通过两个浮点数相除得到的,由于浮点数精度问题,我们可能得不到精确的1.000…后面全是0那种。可能会得到0.9999或1.000…1然后被截断了四舍五入的1.
但很多人在使用这个函数的时候,
没有固定起始点,并且会直接固定死了t值,
在update里面将每次更新后的起始位置直接当作A的参数。
这样可以得到一个速度先慢后快再慢的类似缓动的物体,而且永远无法到达目标点。(数学层面上无法到达)类似芝诺悖论
 public GameObject target;
 private float t = 0.5f;
 void Update()
 {
 	transform.position=Vector3.Lerp(transform.position, target.transform.position, t);
     Debug.Log(transform.position.z);
 }
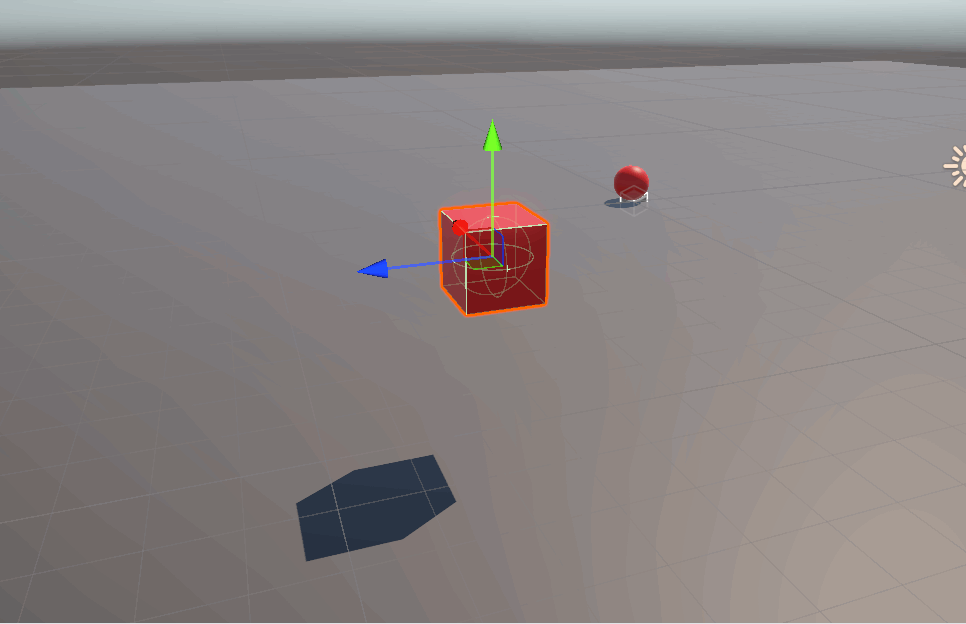
在这里我的A物体坐标是(0,1,10),B物体是(0,1,0)

在Debug打印的信息中我们可以看到每帧物体的z减半。
这是因为没有固定起点,将每次移动后的位置再次作为A值,并且t=0.5导致的。
此时的运动就不再是匀速运动。
从移动距离上,每帧移动的距离是指数缩减的。
从速度看是一个先快再慢的移动。
而当你移动target物体,改变了目标位置时,他将先慢后快再慢的平滑跟随。
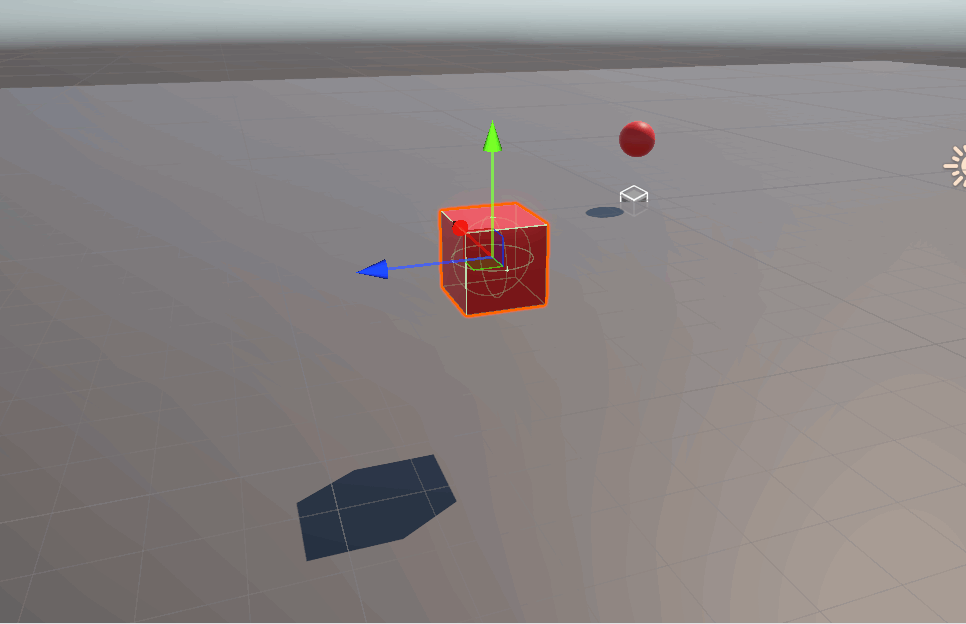
下面这个程序可以按下一次移动一次,进一步验证理解t值的含义。
 public GameObject target;
 private float t = 0.5f;
 private bool isPaused=false;
 void Update()
 {
     if (Input.GetKeyDown(KeyCode.T))
     {
         isPaused= true;
     }
     if (isPaused)
     {
   	 transform.position=Vector3.Lerp(transform.position, target.transform.position, t);
         isPaused= false;
     }
 }
3.Vector.Slerp() 角匀速插值函数
Vector3.Slerp(start,target,t)
他可以做导弹的弧形轨道发射。
Vector3.Slerp的公式是
插值向量
p
=
s
i
n
((
1
−
t
)
θ
)
s
i
n
θ
s
t
a
r
t
+
s
i
n
t
θ
s
i
n
θ
t
a
r
g
e
t
p=frac{sin((1-t)θ)}{sinθ}start+frac{sintθ}{sinθ}target
p=sinθsin((1−t)θ)start+sinθsintθtarget
θ即两向量间的夹角
当t=0的时候
p
=
1
∗
s
t
a
r
t
+
0
∗
t
a
r
g
e
t
p=1*start+0*target
p=1∗start+0∗target
即初始位置
当t=1的时候
p
=
0
∗
s
t
a
r
t
+
1
∗
t
a
r
g
e
t
p=0*start+1*target
p=0∗start+1∗target
即目标位置
假如固定t值为0.5,而不固定起始点。
两物体世界坐标分别是(0,10,0)和(10,0,0)
我们可以来验证一下在这种情况下他的下一个位置在哪里。
根据向量公式
p
=
s
i
n
((
1
−
t
)
∗
θ
)
s
i
n
θ
s
t
a
r
t
+
s
i
n
t
∗
θ
s
i
n
θ
t
a
r
g
e
t
p=frac{sin((1-t)*θ)}{sinθ}start+frac{sint*θ}{sinθ}target
p=sinθsin((1−t)∗θ)start+sinθsint∗θtarget
对应xyz方向的分量就为
p
x
=
s
i
n
(
1
−
0.5
)
∗
90
°
s
i
n
90
°
∗
0
+
s
i
n
45
°
s
i
n
90
°
∗
10
=
0
+
10
∗
2
2
≈
7.07
p_{x}=frac{sin(1-0.5)*90°}{sin90°}*0+frac{sin45°}{sin90°}*10=0+10*frac{sqrt{2}}{2}approx{7.07}
px=sin90°sin(1−0.5)∗90°∗0+sin90°sin45°∗10=0+10∗22≈7.07
p
y
=
s
i
n
((
1
−
0.5
)
∗
90
°
)
s
i
n
90
°
∗
10
+
s
i
n
45
°
s
i
n
90
°
∗
0
=
2
2
∗
10
+
0
≈
7.07
p_{y}=frac{sin((1-0.5)*90°)}{sin90°}*10+frac{sin45°}{sin90°}*0=frac{sqrt{2}}{2}*10+0approx{7.07}
py=sin90°sin((1−0.5)∗90°)∗10+sin90°sin45°∗0=22∗10+0≈7.07
p
z
=
s
i
n
((
1
−
0.5
)
∗
90
°
)
s
i
n
90
°
∗
0
+
s
i
n
t
45
°
s
i
n
90
°
∗
0
=
0
p_{z}=frac{sin((1-0.5)*90°)}{sin90°}*0+frac{sint45°}{sin90°}*0=0
pz=sin90°sin((1−0.5)∗90°)∗0+sin90°sint45°∗0=0
我们写出相关代码并运行,按t键执行一次slerp。
 public GameObject target;
 private float t;
 private Vector3 targetPos;
 private bool isPaused;
 void Start()
 {
     isPaused= false;
     targetPos=target.transform.position;
     t = 0.5f;
 }
 void Update()
 {
     if (Input.GetKeyDown(KeyCode.T))//按下t键运行
     {
         isPaused= true;
     }
     if (isPaused)
     {
         transform.position = Vector3.Slerp(transform.position, targetPos, t);
         Debug.Log(transform.position);//打印物体当前位置
         isPaused = false;
     }

 }
他的下一个位置在世界坐标为
(7.07,7.07,0)


再次强调,需要注意的是在上面这个代码中没有固定初始位置,t值也没有和时间相关联,因此这个运动并不是匀速的。会一直按弧度的一半进行变化。
匀速运动(将t值与当前经过的时间与总时间比值相关联):
示例代码:
public GameObject target;
private float time = 0f;                 //计算开始到此帧的累计时间
private float totalTime = 2.0f;         //总时间两秒
private float t;                         //t插值系数即time/totalTime
private Vector3 startPos;
private Vector3 targetPos;
private void Start()
{
    startPos=transform.position;
    targetPos=target.transform.position;
}
void Update()
{
    time += Time.deltaTime;  //计算当前到开始的时间,每调用一次update就加一次两帧间的时间
    t = Mathf.Clamp01(time / totalTime);                   //钳制到[0,1]
    transform.position=Vector3.Slerp(startPos, targetPos, t);
}
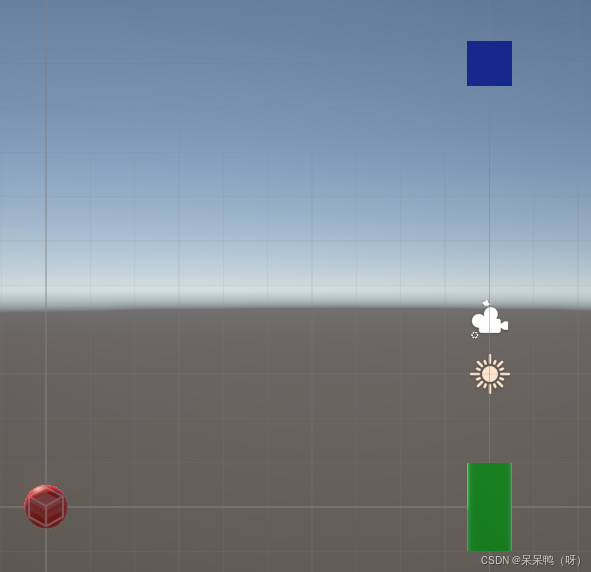
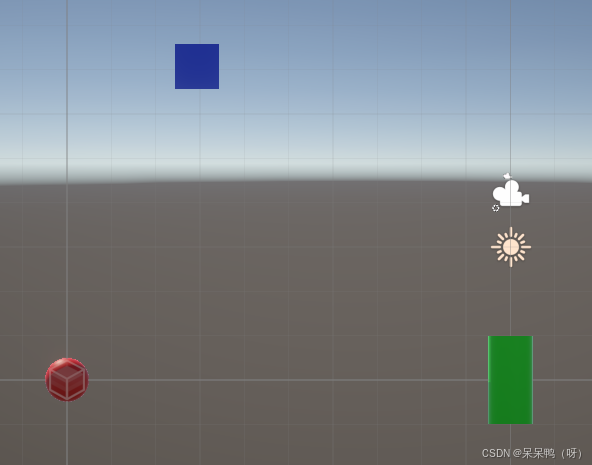
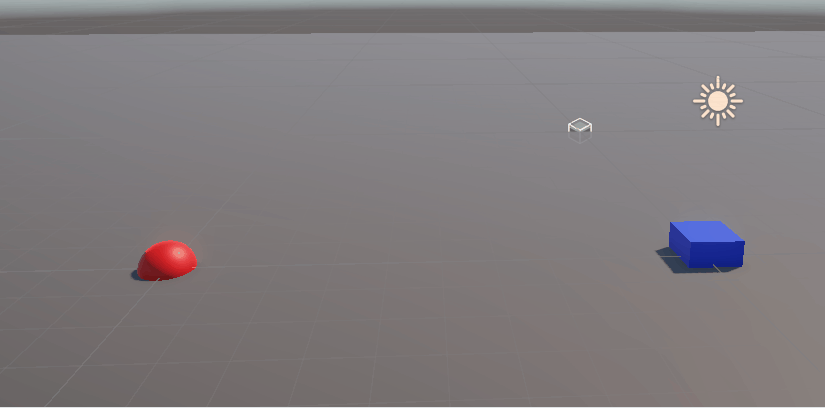
效果:
我这里的两物体世界坐标分别是(0,10,0)和(10,0,0)
这里是匀速运动的。因为固定了起始点,并且t值和时间关联了。
Lerp和Slerp都是根据插值系数所对应的数学式子进行的移动,因此他既可以做匀速运动也可以做非匀速运动.那有没有简单的匀速运动呢?有的兄弟,有的。那就是MoveTowards.
4.Vector3.MoveTowards()
Vector3.MoveTowards(start,target,step)
与Vector3.Lerp不同的是Lerp控制匀速的原理是将插值系数与时间比例相关联实现匀速,默认非匀速。
而MoveTowards是直接固定每帧步长。
因为是固定每帧移动距离所以我们可以乘以Time.deltaTime转为每秒移动距离
下面是一个每秒移动10米的物体
public GameObject target;
private Vector3 targetPos;

void Start()
{
    targetPos=target.transform.position;
}
void Update()
{
	transform.position = Vector3.MoveTowards(transform.position, targetPos, 10f*Time.deltaTime);
}
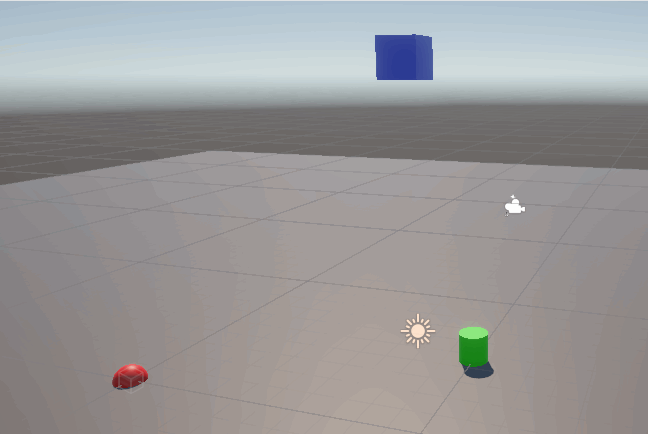
效果:
5.Vector3.SmoothDamp()平滑阻尼
Vector3.SmoothDamp(current,target,currentVelocity,smoothTime,maxSpeed)
Vector3 current物体当前的位置
Vector3 target目标位置
ref vector3 currentVelocity 当前速度(ref是unity内的引用符号)
float smoothTime完成这一过程近似需要的时间
float maxSpeed最大速度防止时间过小导致速度太大
平滑阻尼非常适合做相机的跟随视角
 public Transform target;      // 跟随的目标
 public float smoothTime = 0.3f; // 平滑时间
 private Vector3 currentVelocity = Vector3.zero;

 void LateUpdate()
 {
     // 平滑移动相机到目标位置
     transform.position = Vector3.SmoothDamp(
         transform.position,
         target.position,
         ref currentVelocity,
         smoothTime
     );
 }
二、Rigibody
1.Velocity设置速度
rigibody.velocity=new Vector3(speedX,speedY,speedZ);
首先给物体添加rigibody组件
然后将一个3维向量直接赋给velocity
向量上的值就是该物体对应分量上的速度
 private Rigidbody rb;
 void Start()
 {
     rb=GetComponent<Rigidbody>();
 }

 // Update is called once per frame
 void FixedUpdate()
 {
         rb.velocity = new Vector3(rb.velocity.x, 10, rb.velocity.z);
 }
一般会将这种移动的方式用作跳跃,在按下某键后执行一次赋予某物体初速度,然后由于重力自行下落。通常
还会结合Physics.Raycast射线检测来判断物体是否在地面上,防止在空中反复跳跃‘螺旋升天’。
    // Start is called before the first frame update
    private Rigidbody rb;
    void Start()
    {
        rb=GetComponent<Rigidbody>();
    }
    // Update is called once per frame
    void FixedUpdate()
    {
        if (Input.GetKey(KeyCode.Space)&&IsGrounded())
        {
            rb.velocity = new Vector3(rb.velocity.x, 5f, rb.velocity.z);
        }
    }
bool IsGrounded()
    {
        return Physics.Raycast(transform.position, Vector3.down, 1.1f);
        //因为我的物体落在地面上时高度为1,使用地面检测射线我设为1.1
    }

2.AddForce施加力
AddForce(Vector3 force, ForceMode mode)
默认力的模式为ForcfeMode.Force
| 力的模式 | 用途 |
|---|---|
| ForceMode.Force | 持续施加力(火箭助推器) |
| ForceMode.Acceleration | 直接控制加速度(漂浮平台) |
| ForceMode.Impulse | 瞬间爆发力(爆炸,跳跃) |
| ForceMode.VelocityChange | 直接修改速度类似velocity |
private Rigidbody rb;
public Vector3 dir;    //力的方向
public float forceNumber;      //力的大小
// Start is called before the first frame update
void Start()
{
    rb = GetComponent<Rigidbody>();
}

// Update is called once per frame
void Update()
{
    rb.AddForce(dir * forceNumber,ForceMode.Force);
    //需要更改力模式时,改ForceMode.Force
}
大致区别:
Force在施加力时会考虑质量,同样的力施加在不同质量物体上的效果不同。两个质量不同的物体在受到相同数值的Force时,质量小的物体速度快,质量大的物体速度小。

Acceleration是直接改变加速度与物体本身质量无关。两个质量不同的物体在受到相同数值的Acceleration时速度是相同的。(参考两质量不同的物体受到重力影响下落,同时落地。比萨斜塔实验)

Impulse瞬间获得一个力。单位为(N*s).可以理解为冲量作用于物体上的效果。例如相当于某物体瞬间受某力作用一秒的效果,并且考虑物体质量影响。

VelocityChange施加一个瞬时的速度变化,忽略物体的质量。
| 力的模式 | 是否受质量影响 | 作用时间 | 速度变化公式 |
|---|---|---|---|
| ForceMode.Force | 是 | 持续 | Δv = (F/m) * Δt |
| ForceMode.Acceleration | 否 | 持续 | Δv = F * Δt |
| ForceMode.Impulse | 是 | 瞬时 | Δv = F/m |
| ForceMode.VelocityChange | 否 | 瞬时 | Δv = F |
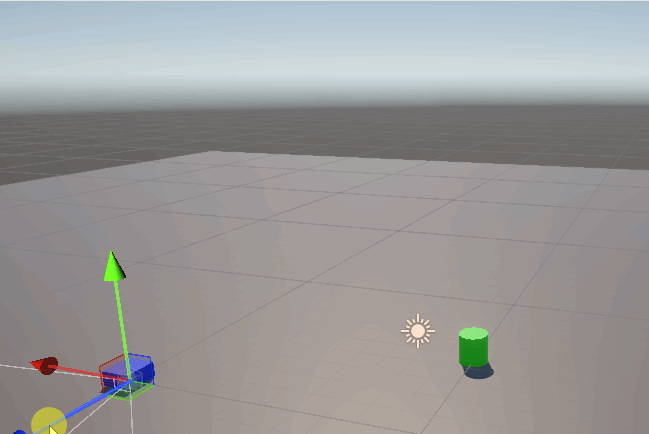
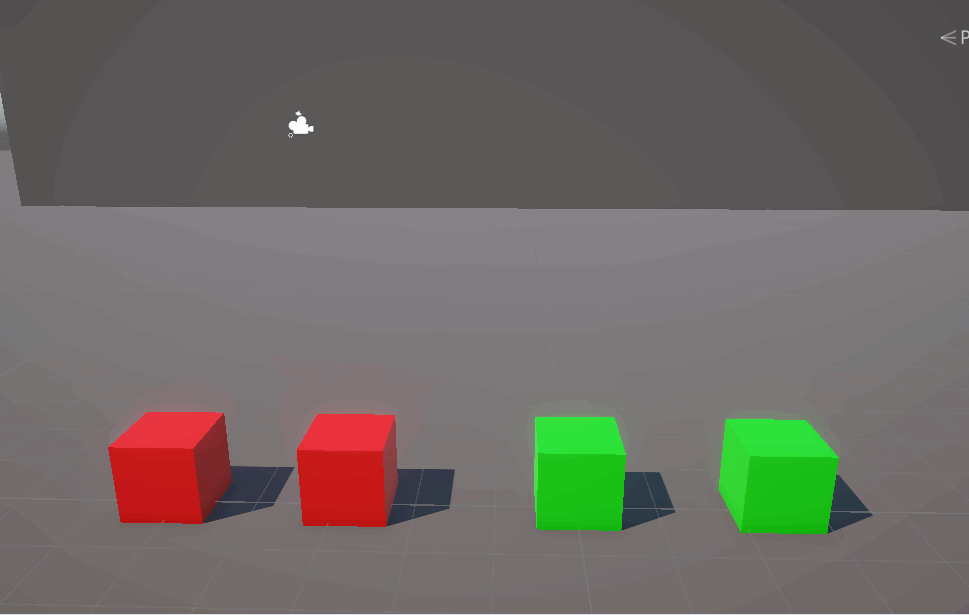
Force和Acceleration对于不同质量相同数值力的对比:
他们的力的向量的方向和大小都是相同的
左一红(质量为1) 左二红(质量为5)左一绿(质量为1) 左二绿(质量为5)
3.MovePosition
MovePosition(Vector3 newPosition)
通过改变物体的全局坐标来移动物体。直接瞬移到目标位置。
 private Rigidbody rb;
 void Start()
 {
     rb = GetComponent<Rigidbody>();
 }
 void Update()
 {
     // 检查用户输入(例如按下空格键)
     if (Input.GetKeyDown(KeyCode.Space))
     {
         // 定义新位置
         Vector3 newPosition = new Vector3(0, 5, 0);
         // 使用 MovePosition 方法将刚体移动到新位置
         rb.MovePosition(newPosition);
     }
 }
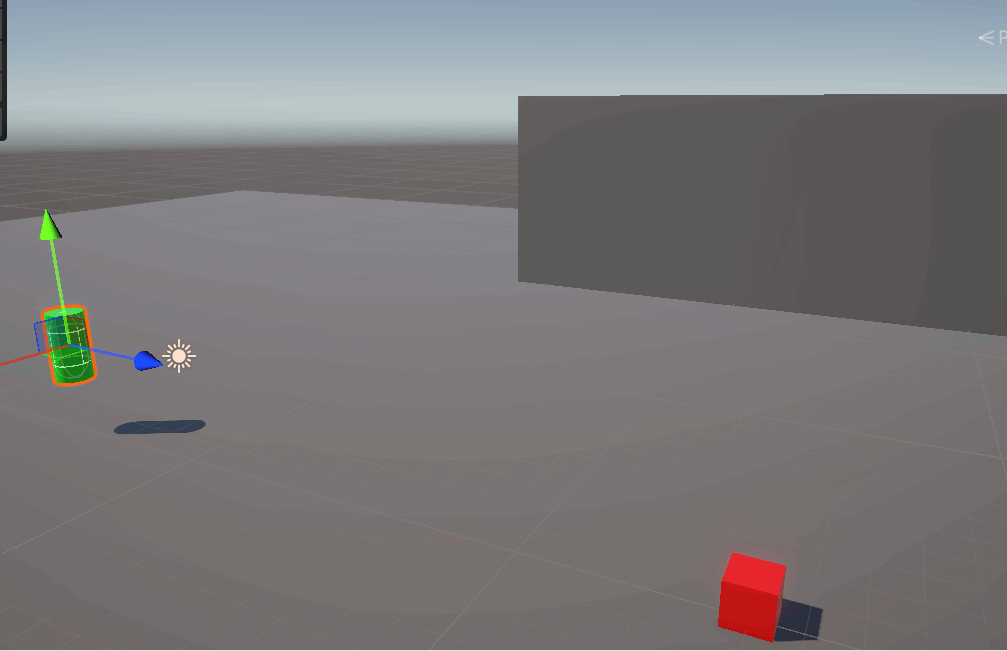
绿色的圆柱体之前也绑定了空格控制,在velocity上加了向上速度,可以明显看到MovePosition的特点-瞬移。
三、Character Controller
需要注意的是一个物体在加了CharacterController后最好不要轻易再加rigibody,因为CharterControllelr有部分rigibody已有的物理模拟部分,因此会造成混乱,具体表现为物体会自己抽搐。
1.SimpleMove
SimpleMove(Vector3 move)
SimpleMove Y轴会自动应用重力。
会自动检测并阻止穿透。
无法设置跳跃,进行y轴上的变化。
  public CharacterController controller;
  public float moveSpeed = 5f;
  void Update()
  {
      float horizontal = Input.GetAxis("Horizontal");
      //获取水平方向上的输入
      float vertical = Input.GetAxis("Vertical");
      //获取垂直方向上的输入
      Vector3 moveDirection = new Vector3(horizontal, 0, vertical);
       //将水平和垂直方向上的输入组成一个y轴为0的3维向量
      moveDirection = transform.TransformDirection(moveDirection);
       // 转换为世界坐标方向
      controller.SimpleMove(moveDirection * moveSpeed);
       // 自动处理重力
  }
直接运行的话会报这个错

UnassignedReferenceException: The variable controller of Force has not been assigned.
You probably need to assign the controller variable of the Force script in the inspector.
UnityEngine.CharacterController.SimpleMove (UnityEngine.Vector3 speed)
这是因为脚本的CharacterController没有指定
将物体的CharacterController拖入其中即可
2.Move
Move(Vector3 move)
与simplemove用法一样,
但是他没有自定义的重力,需要自行设置重力,并且可以设置y轴上的值来进行跳跃设置。
public CharacterController controller;
public float moveSpeed = 5f;

void Update()
{
    float horizontal = Input.GetAxis("Horizontal");
    float vertical = Input.GetAxis("Vertical");

    Vector3 moveDirection = new Vector3(horizontal, 0, vertical);
    moveDirection = transform.TransformDirection(moveDirection); // 转换为世界坐标方向

    controller.Move(moveDirection * moveSpeed * Time.deltaTime);
}
自定义重力并且设置y轴跳跃:
 public CharacterController controller;
public float moveSpeed = 5f;
public float jumpForce = 3f;
public float gravity = -9.81f;
private Vector3 velocity;

void Update()
{
    // 地面检测 + 重置垂直速度
    if (controller.isGrounded && velocity.y < 0)
    {
        velocity.y = -2f;
    }

    // 水平移动输入
    float horizontal = Input.GetAxis("Horizontal");
    float vertical = Input.GetAxis("Vertical");
    Vector3 moveDirection = transform.TransformDirection(new Vector3(horizontal, 0, vertical)) * moveSpeed;

    // 跳跃
    if (Input.GetButtonDown("Jump") && controller.isGrounded)
    {
        velocity.y = Mathf.Sqrt(jumpForce * -2f * gravity);
    }

    // 应用重力
    velocity.y += gravity * Time.deltaTime;

    // 整体移动(水平 + 垂直)
    controller.Move((moveDirection + velocity) * Time.deltaTime);
}


站长推荐
- QT多线程的5种用法,通过使用线程解决UI主界面的耗时操作代码,防止界面卡死。
 QT多线程的5种用法,通过使用线程解决UI主界面的耗时操作代码,防止界面卡死。...
 - U8W/U8W-Mini使用与常见问题解决
 U8W/U8W-Mini使用与常见问题解决
 - stm32使用HAL库配置串口中断收发数据(保姆级教程)
 stm32使用HAL库配置串口中断收发数据(保姆级教程)
 - 分享几个国内免费的ChatGPT镜像网址(亲测有效)
 分享几个国内免费的ChatGPT镜像网址(亲测有效)
 - Allegro16.6差分等长设置及走线总结
 Allegro16.6差分等长设置及走线总结